Tool Description
web_search
web_search
Performs web searches based on search queries, returning search results and related suggestions.
Prerequisites
1
Get API Key
Visit Billing > Token Plan to view your Subscription Key. The key needs a Token Plan seat or purchased Credits access to use paid resources.
2
Install uvx
- macOS / Linux
- Windows
For other installation methods, refer to the uv repository.
3
Verify Installation
- macOS / Linux
- Windows
If installed correctly, a path will be shown (e.g.,
/usr/local/bin/uvx). If you get spawn uvx ENOENT error, you need to configure the absolute path.Use in Claude Code
1
Download Claude Code
Download and install Claude Code from Claude Code official website
2
Configure MCP
- Quick Install
- Manual Configuration
Run the following command in terminal, replace
api_key with your API Key:3
Verify Configuration
After entering Claude Code, type 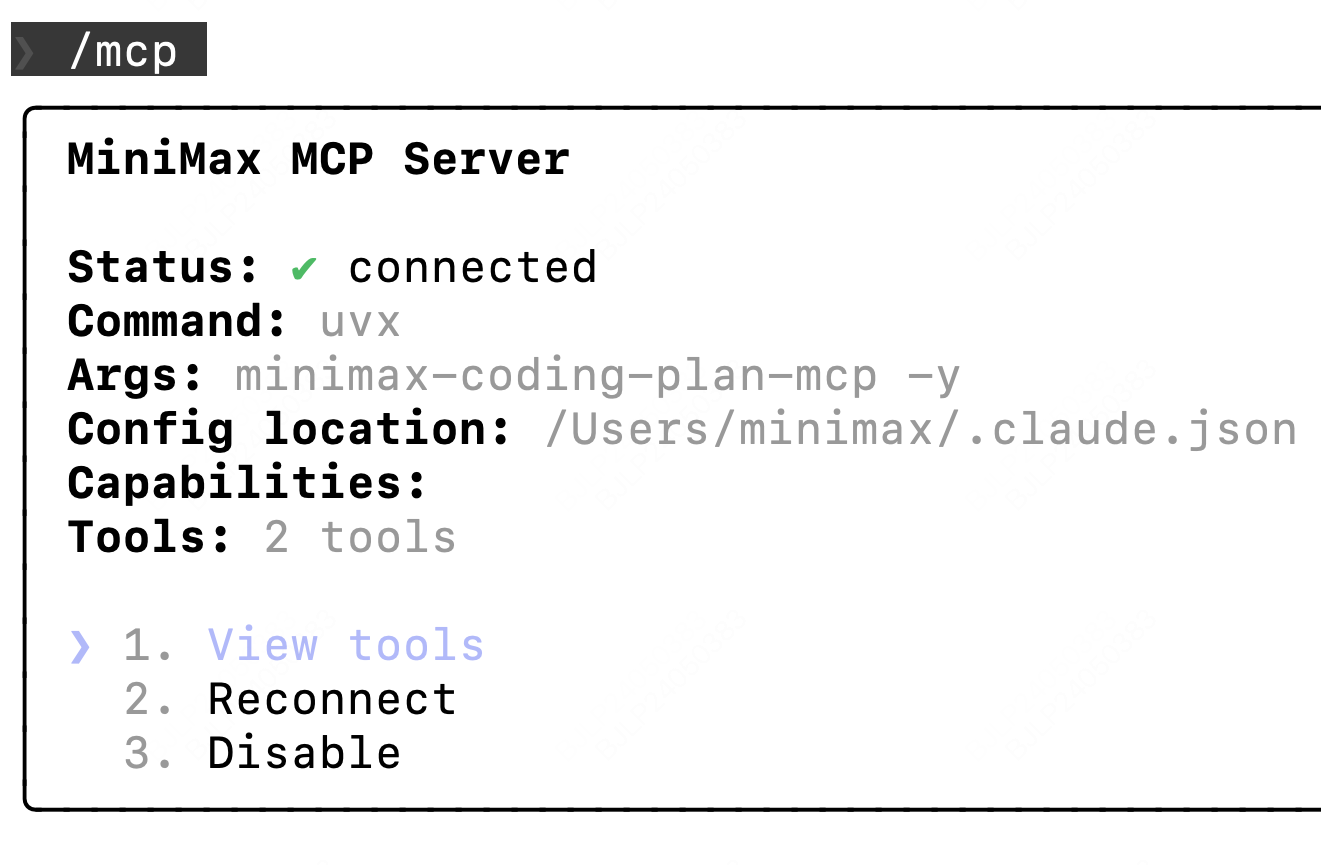
/mcp. If you can see web_search, the configuration is successful.If you use MCP in an IDE (like TRAE), you also need to configure MCP in the corresponding IDE settings
Use in Cursor
1
Download Cursor
Download and install Cursor from Cursor official website
2
Open MCP Configuration
Go to 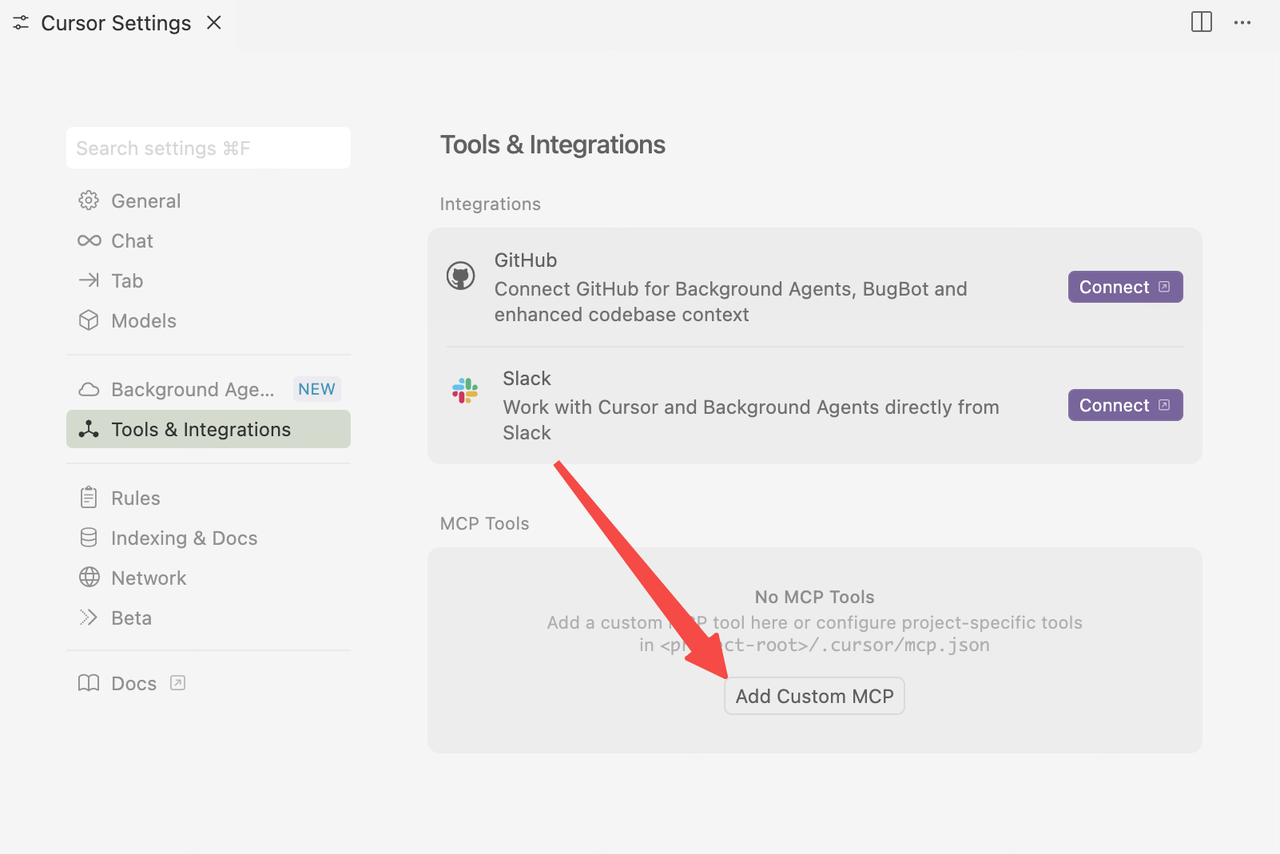
Cursor -> Preferences -> Cursor Settings -> Tools & Integrations -> MCP -> Add Custom MCP3
Add Configuration
Add the following configuration to
mcp.json file:Use in OpenCode
1
Download OpenCode
Download and install OpenCode from OpenCode official website
2
Configure MCP
Edit the config file
~/.config/opencode/opencode.json, add the following MCP configuration:3
Verify Configuration
After entering OpenCode, type 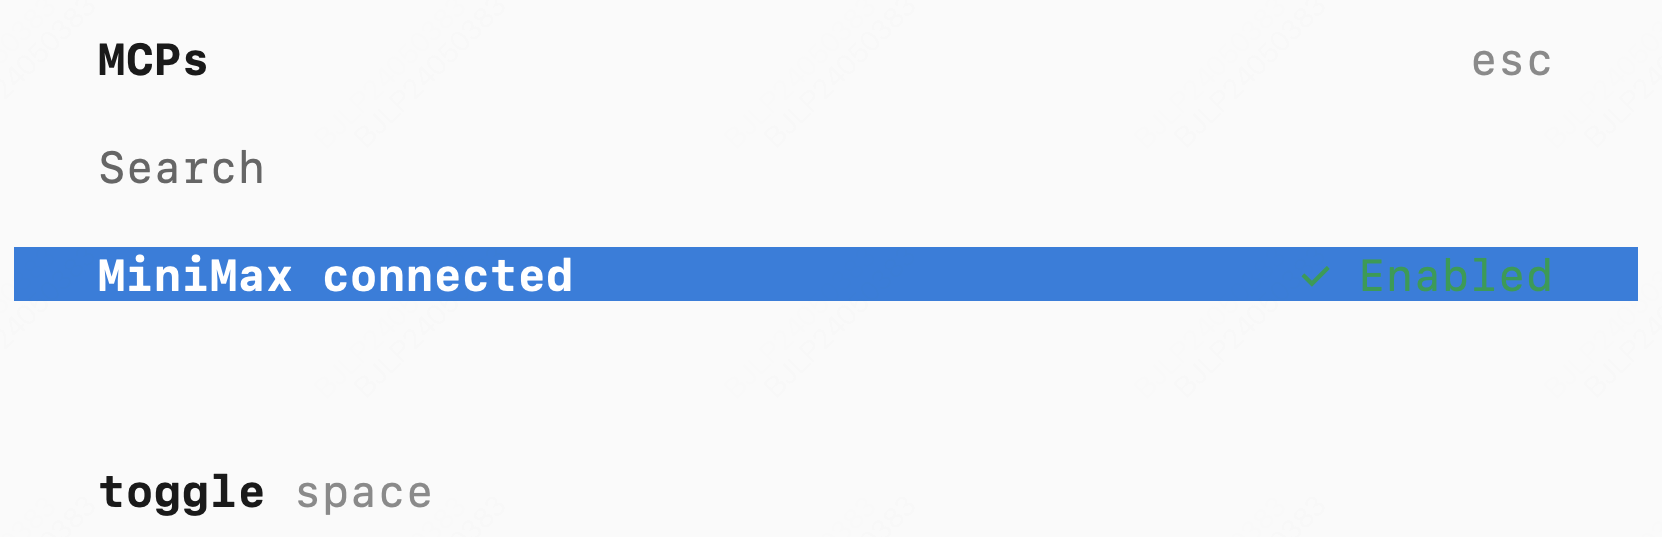
/mcp. If you can see MiniMax connected, the configuration is successful.